So I was telling Missy about it and She want's to try so i'm putting it step by step for her or anyone else so want's to try. I'm going to try to scan and put the pattern on or find one online but if you want a pattern just email me with your address and i can snail mail the paper to ya. Ok here it goes....
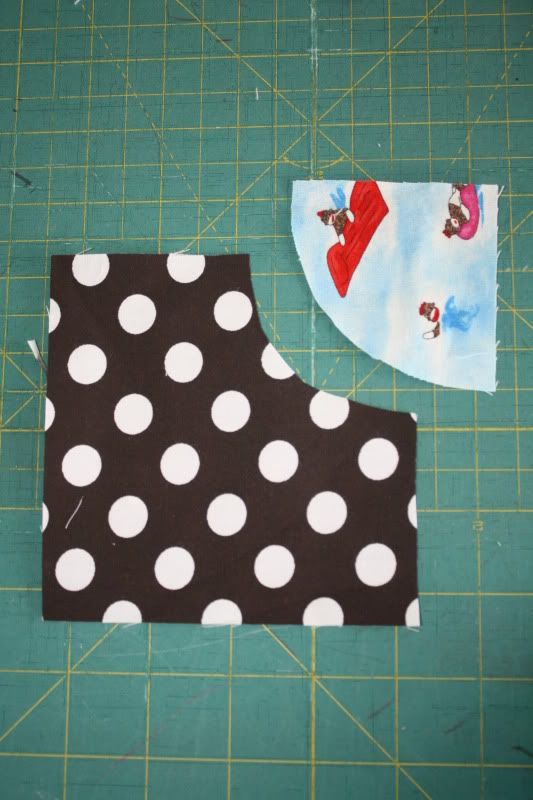
These are the two pieces that you will be cutting. you need 4 of each piece to make one block
2. fold each piece in half and finger crease so you can see the middle of each piece
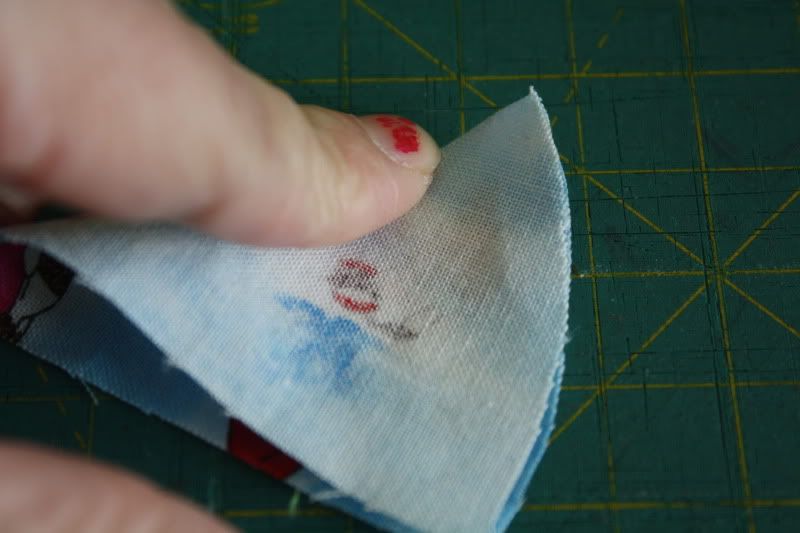
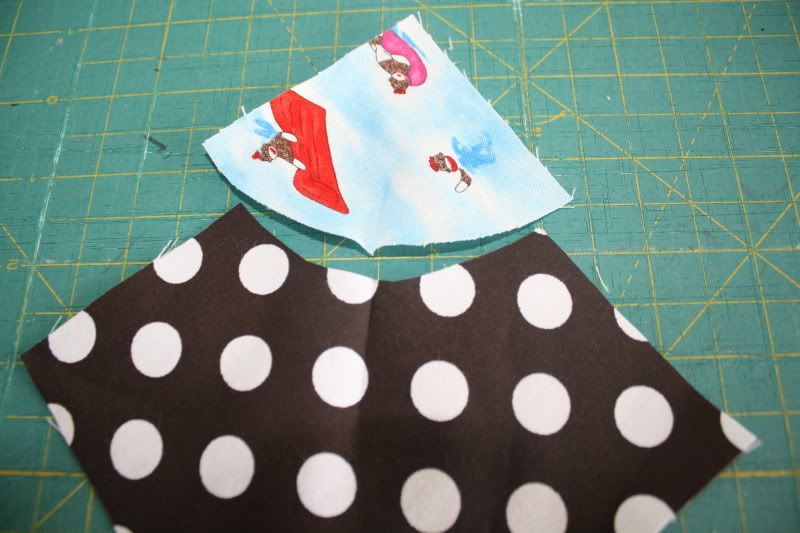
3. Match the creases and pin
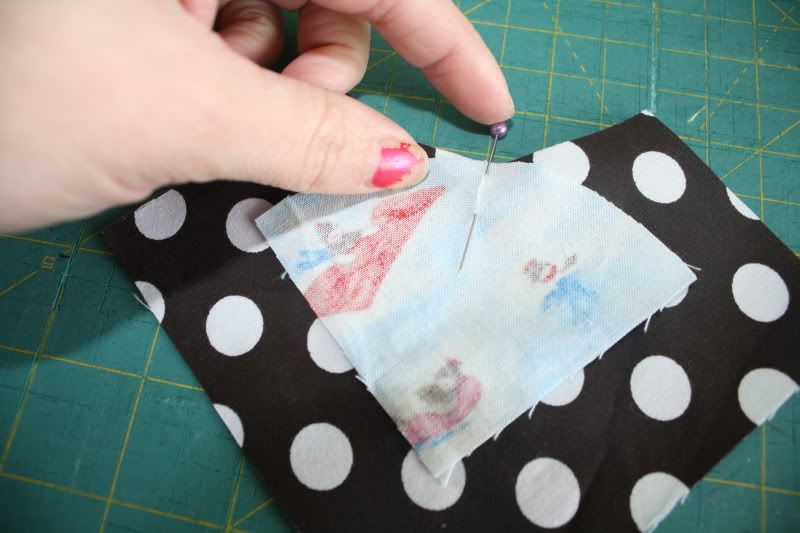
4. Stretch each side out and pin to fit along the edge. It takes quite a bit of stretching to get it but the more you do it the less pin's you have to use, because you get more use to how it is suppose to go.
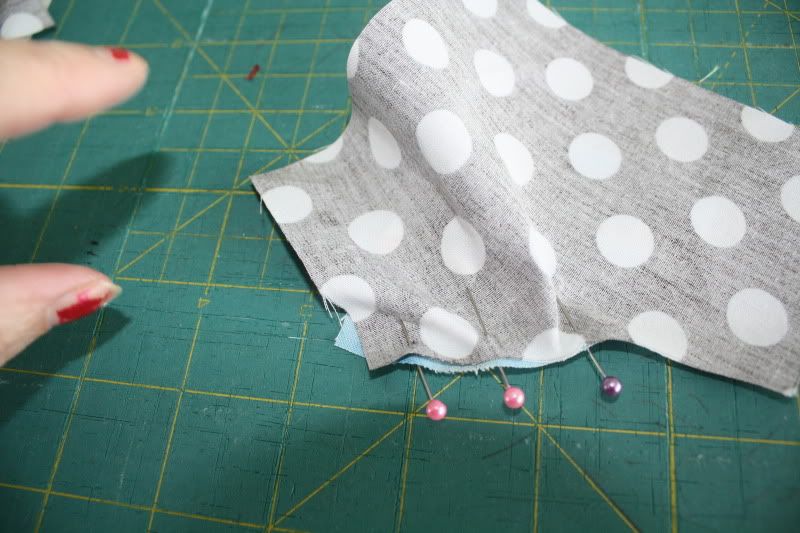
5. do the same on the other side of the crease. So the entire piece is pinned
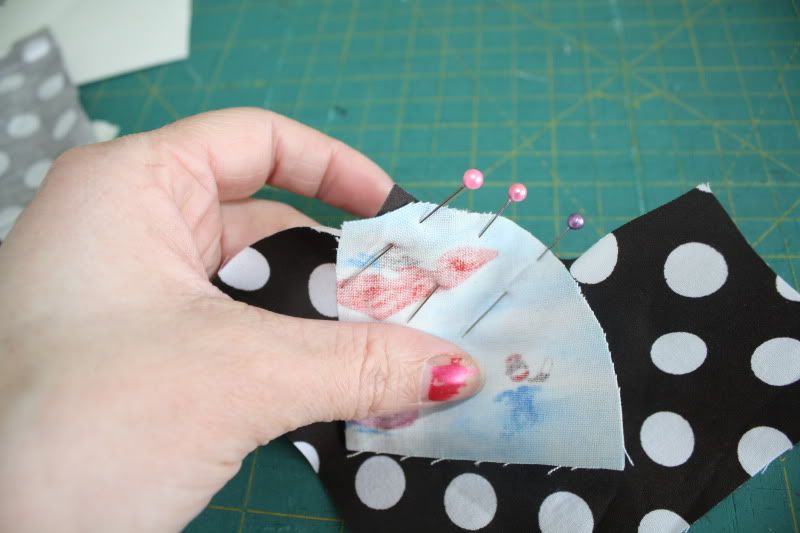
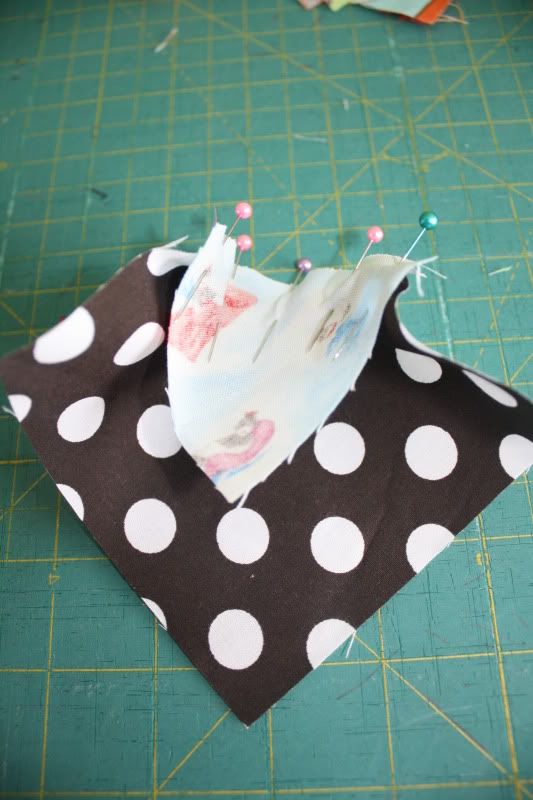
6. Start on the right side with the small piece up and slowly sew at 1/4 inch and turn as needed
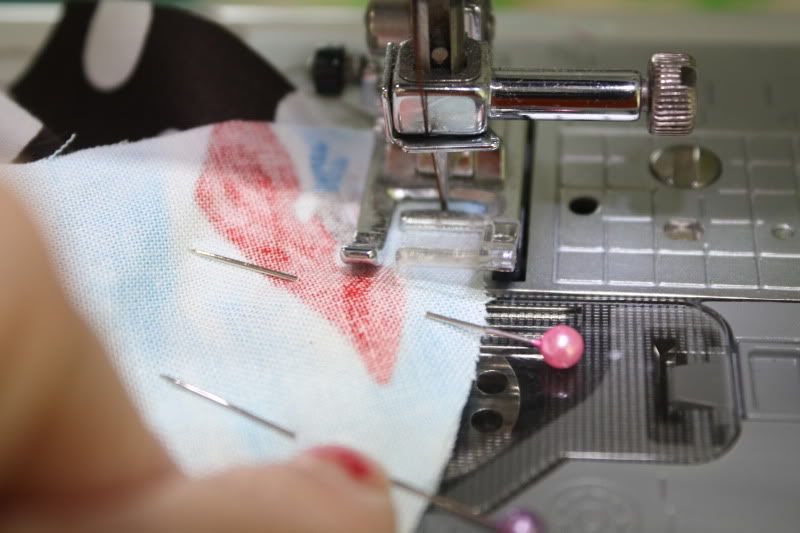
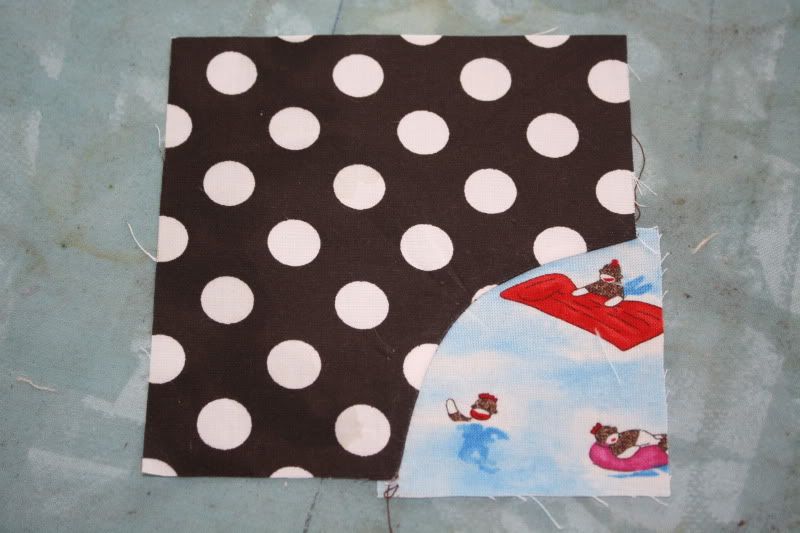
#7. Trim as needed to make it square

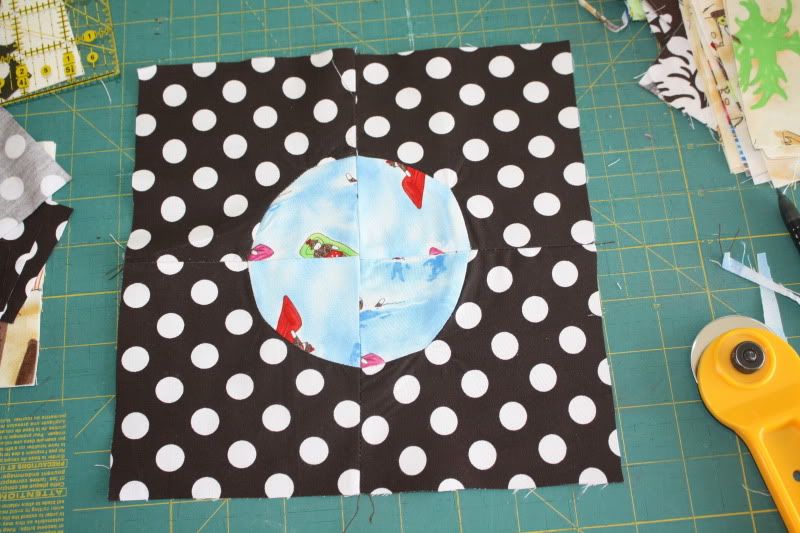
#8. Once 4 squares are done iron and lay them out how you would like them to end up
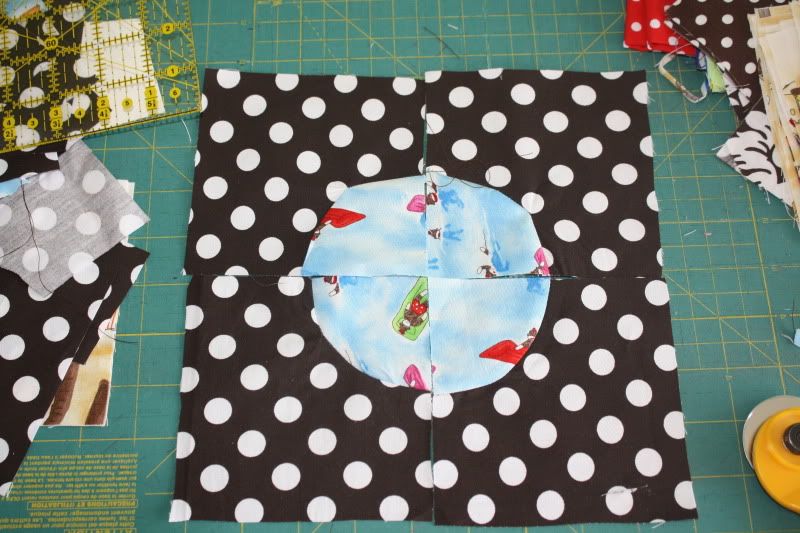
#9. Fold over
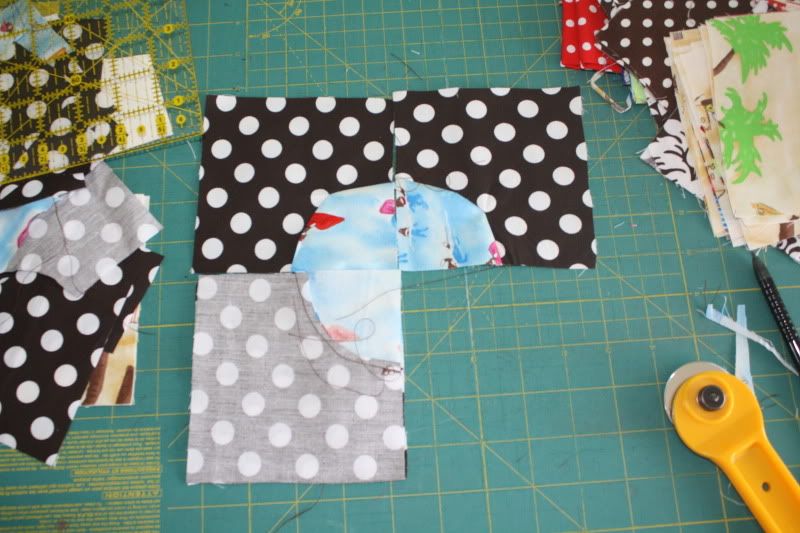
#10 Be sure to match the seams and pin!!! This is super important or you'll have a wonkie cirlce.
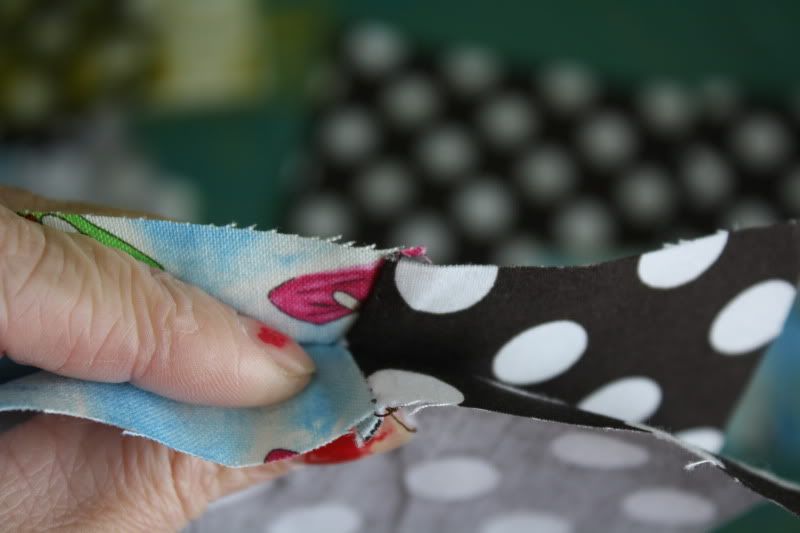
#10. Pin and sew at 1/4 inch. Do this for both sides of the circle.
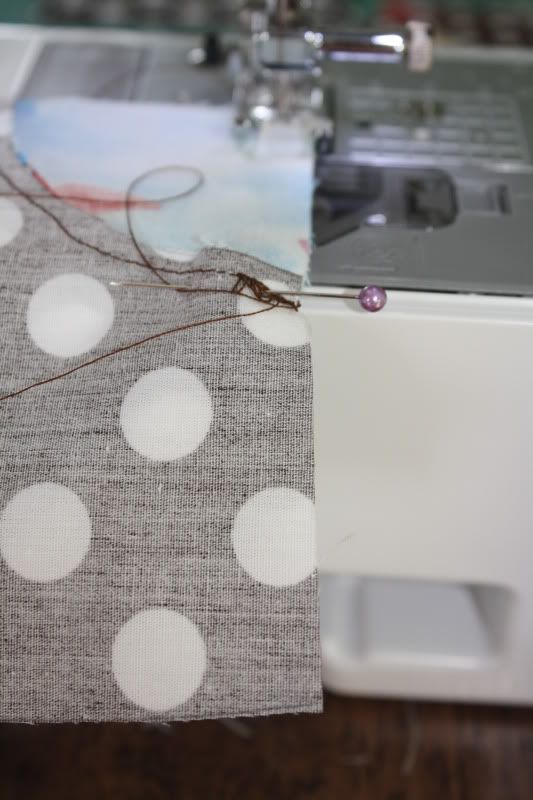
#11.Open both side and iron. Iron seams in opposite direction
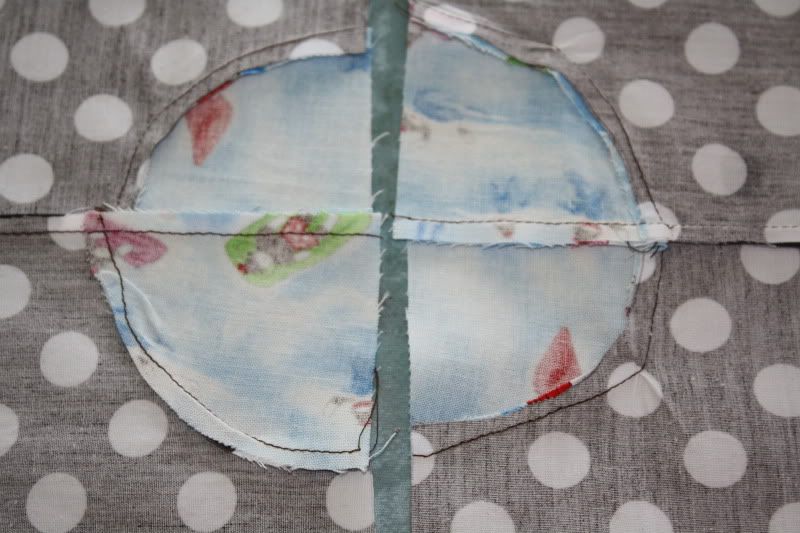
#12. Match the middle seam and pin first, then match the two outer seams of the circle and pin, then sew at 1.4 inchs
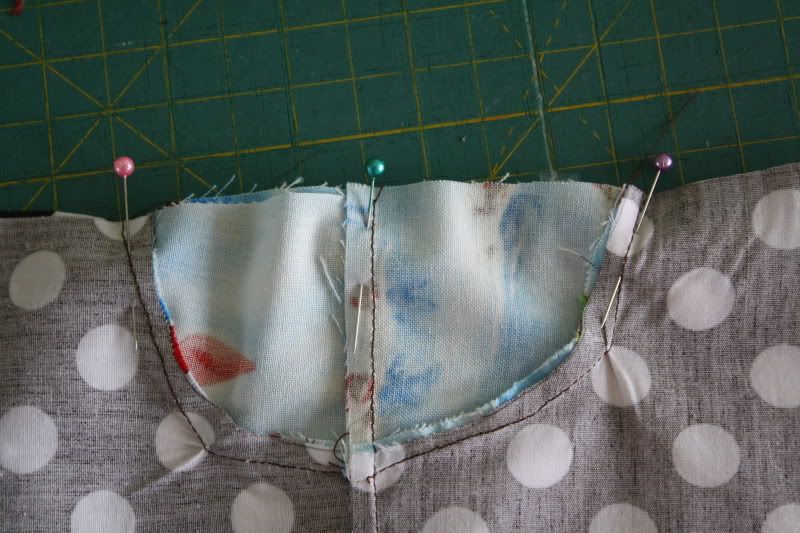
#12. Open and iron this seam open
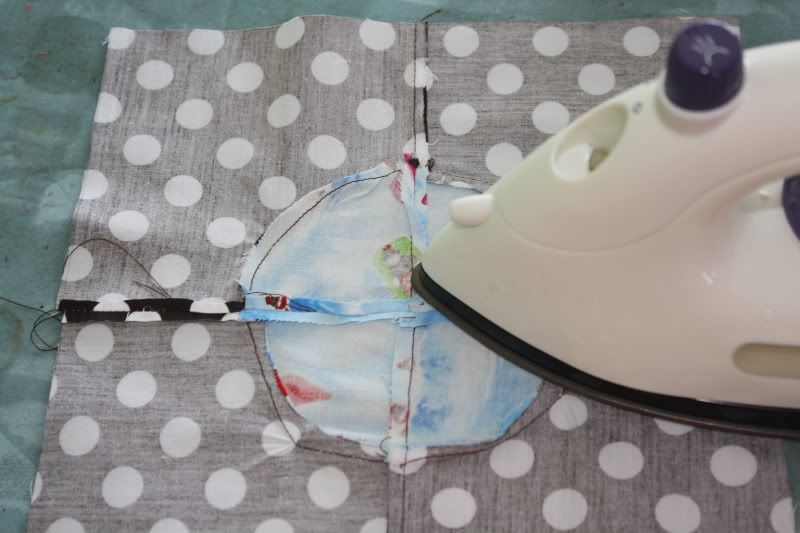
#13. after you sew and iron, most squares will need to be trimmed to make a even square.
And there you go. This is the Quilt I'm Making for Blazes Bed. Yes it's sock monkeys! I'll post pictures when im finished it. I think i'm going to love it!
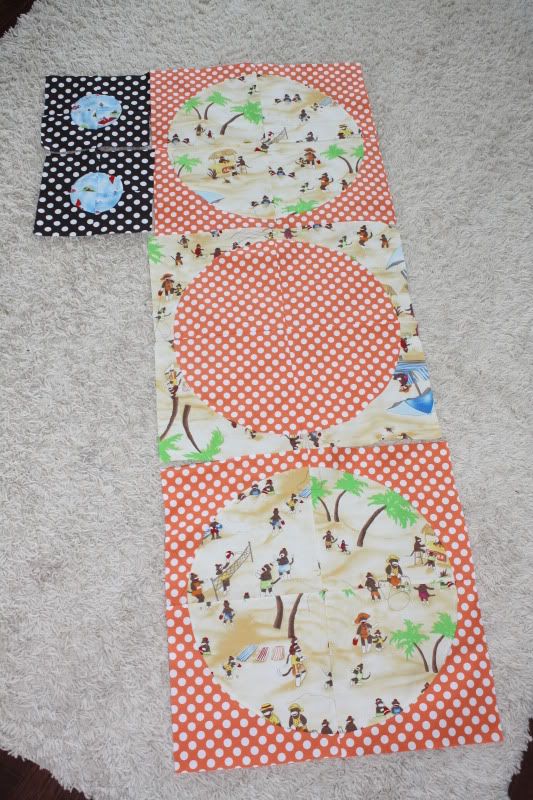
Ok I hope that help ya miss!


cute!!!!!
ReplyDelete